
Getting Started
Quick Start
From first launch to your first AI-completed task in under five minutes.
- 1
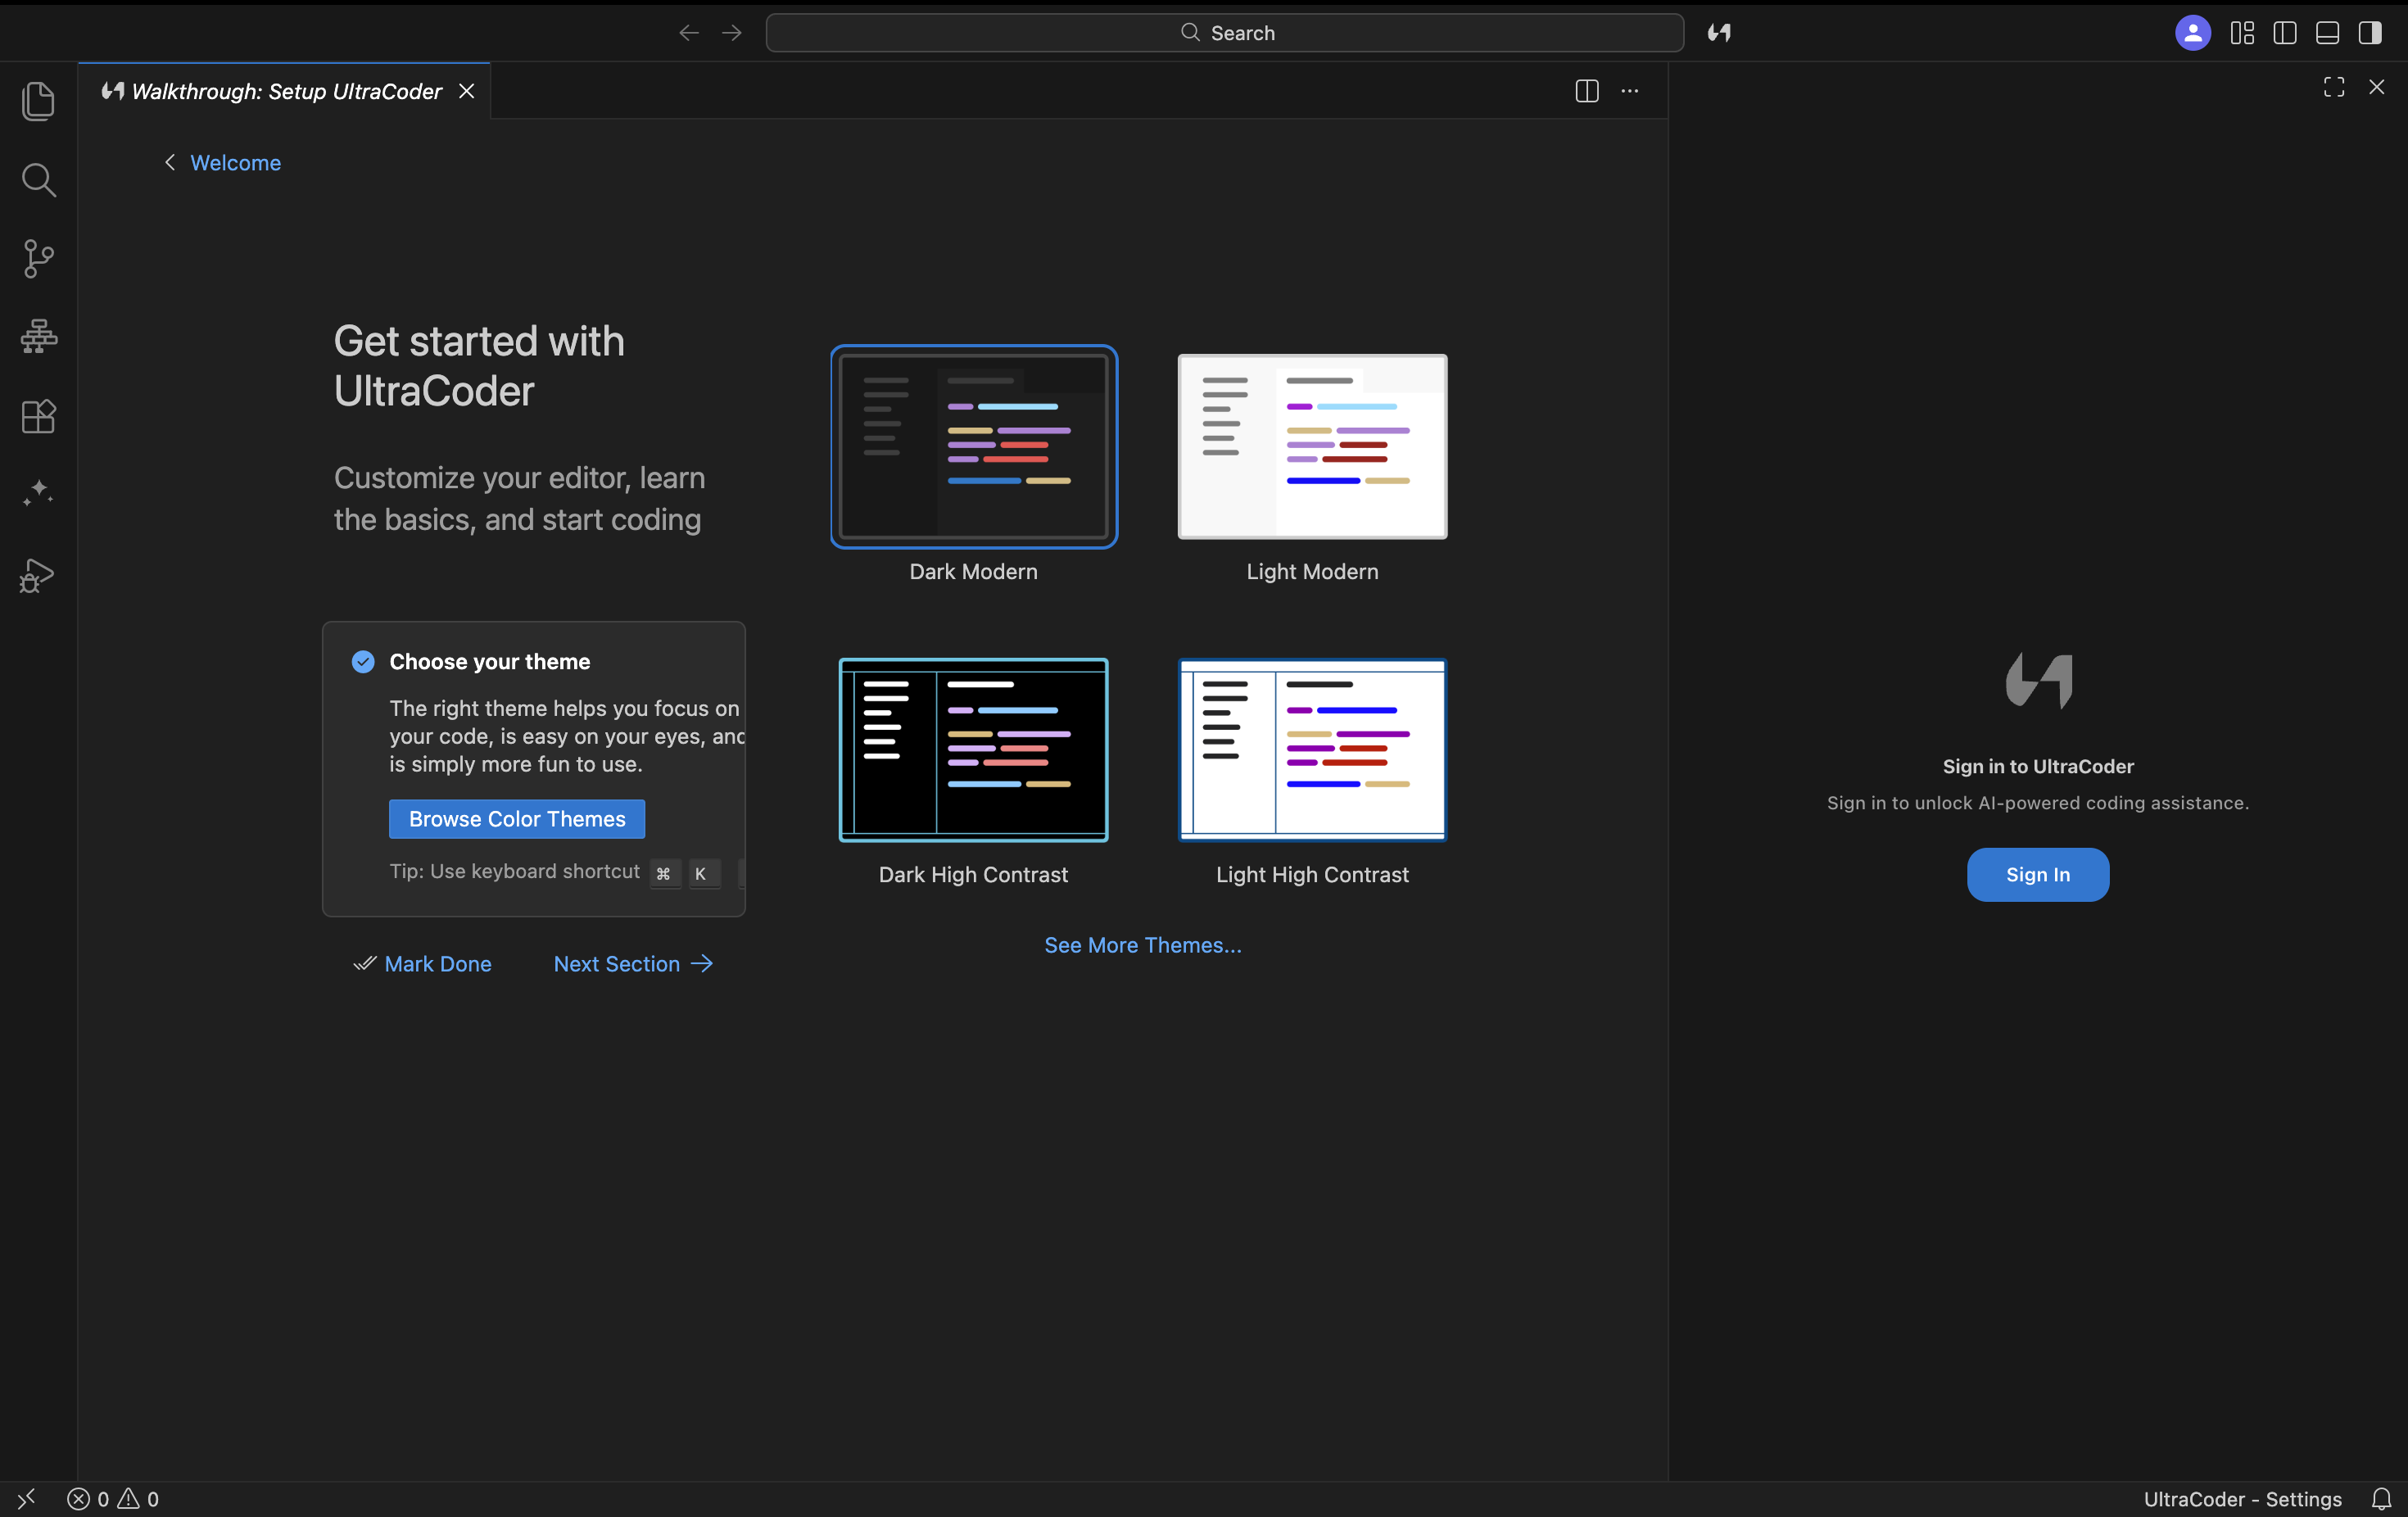
Open UltraCoder
Launch UltraCoder.app. The AI panel opens automatically on the right side of the editor. If it doesn't appear, press ⌘L or open the Command Palette (⌘⇧P) and run UltraCoder: Focus Chat Input. - 2
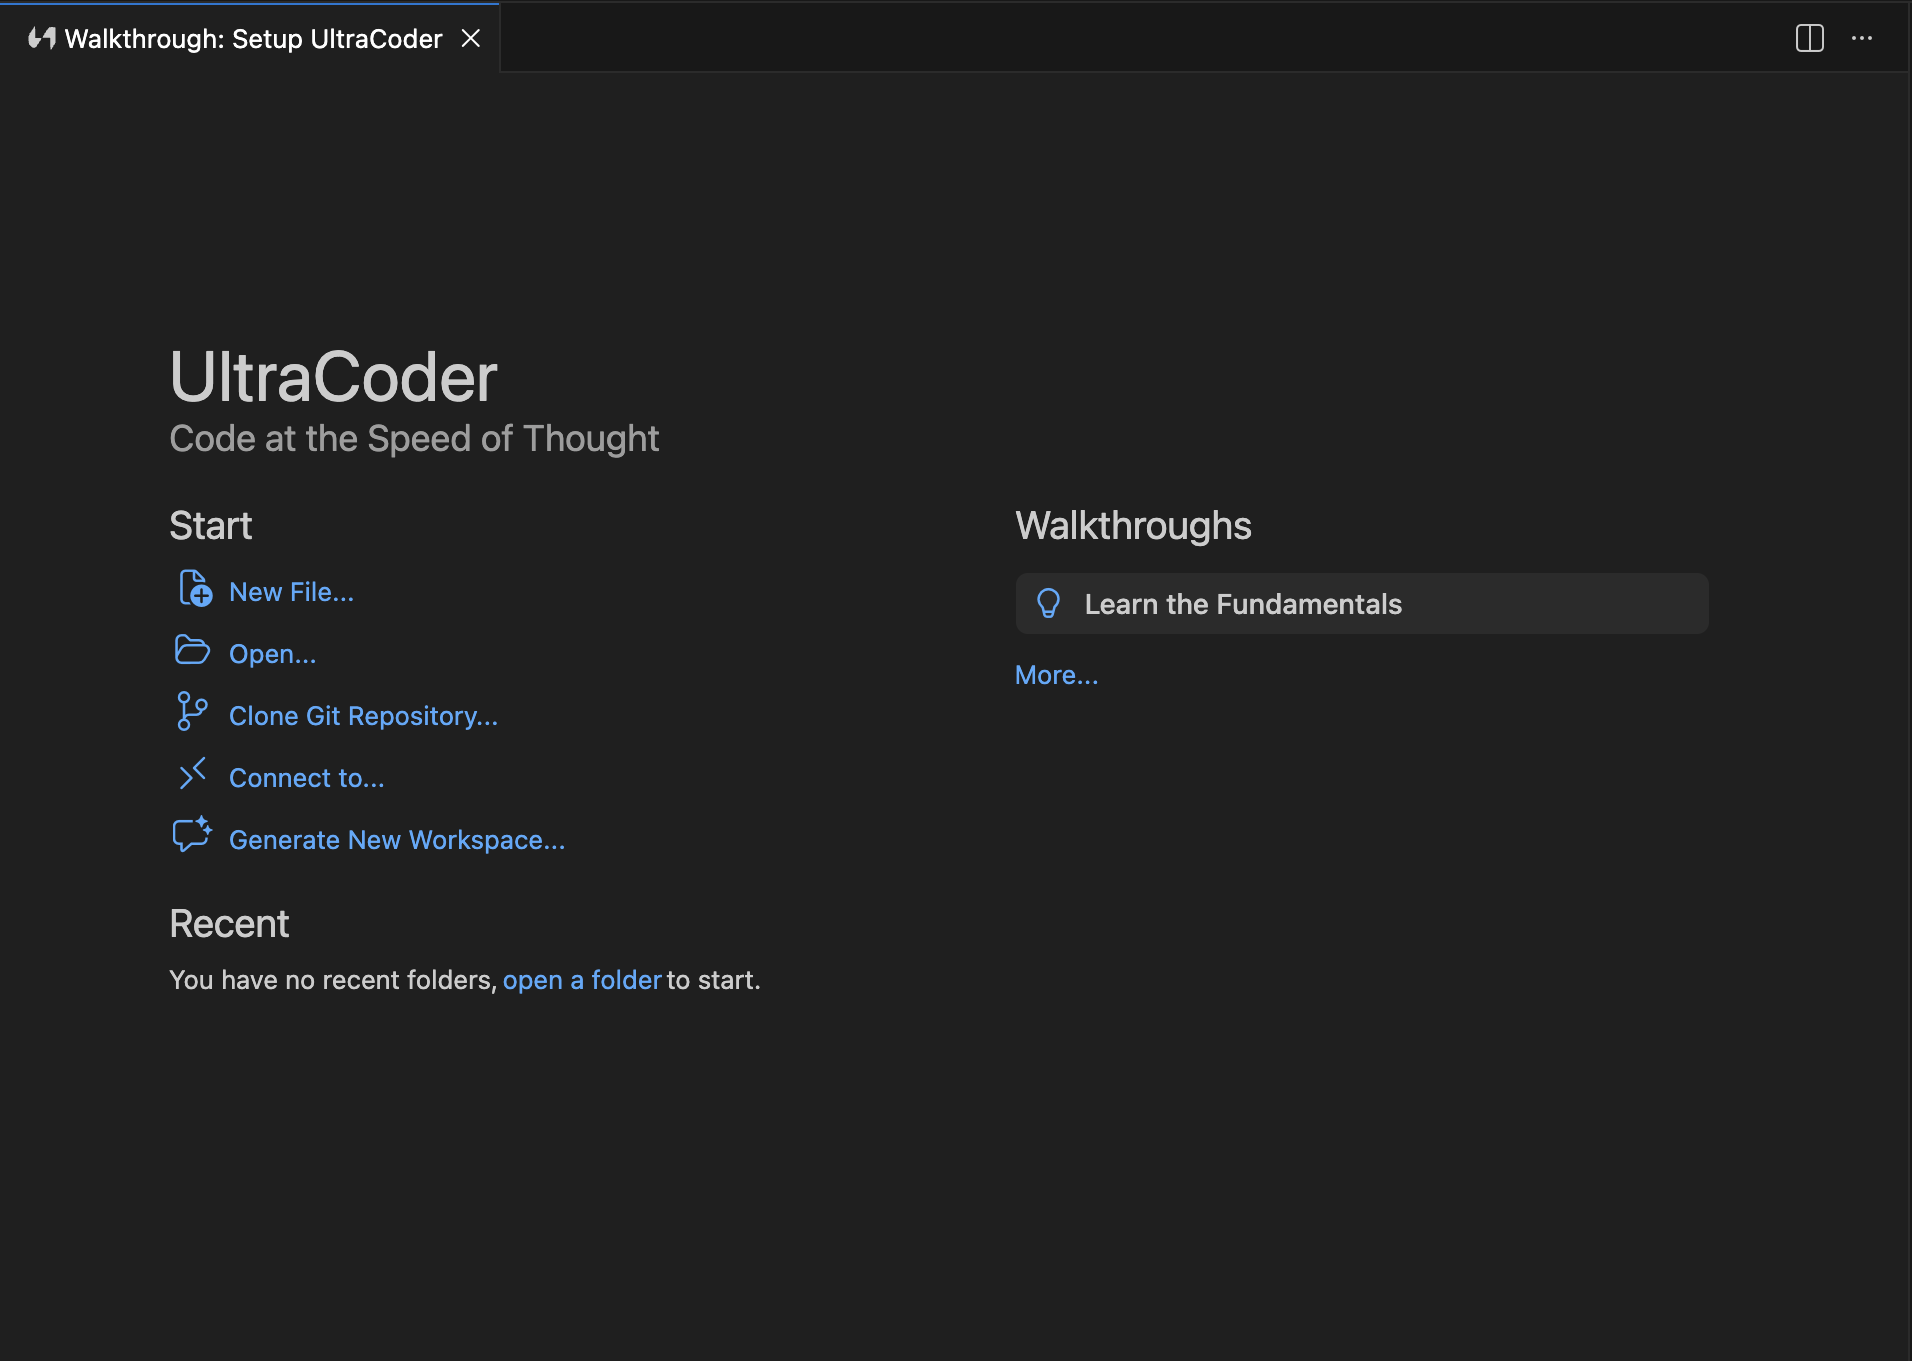
Open a project
Use File → Open Folder (⌘O) to open your project. The AI UltraCoder automatically indexes your codebase in the background for smarter context. - 3
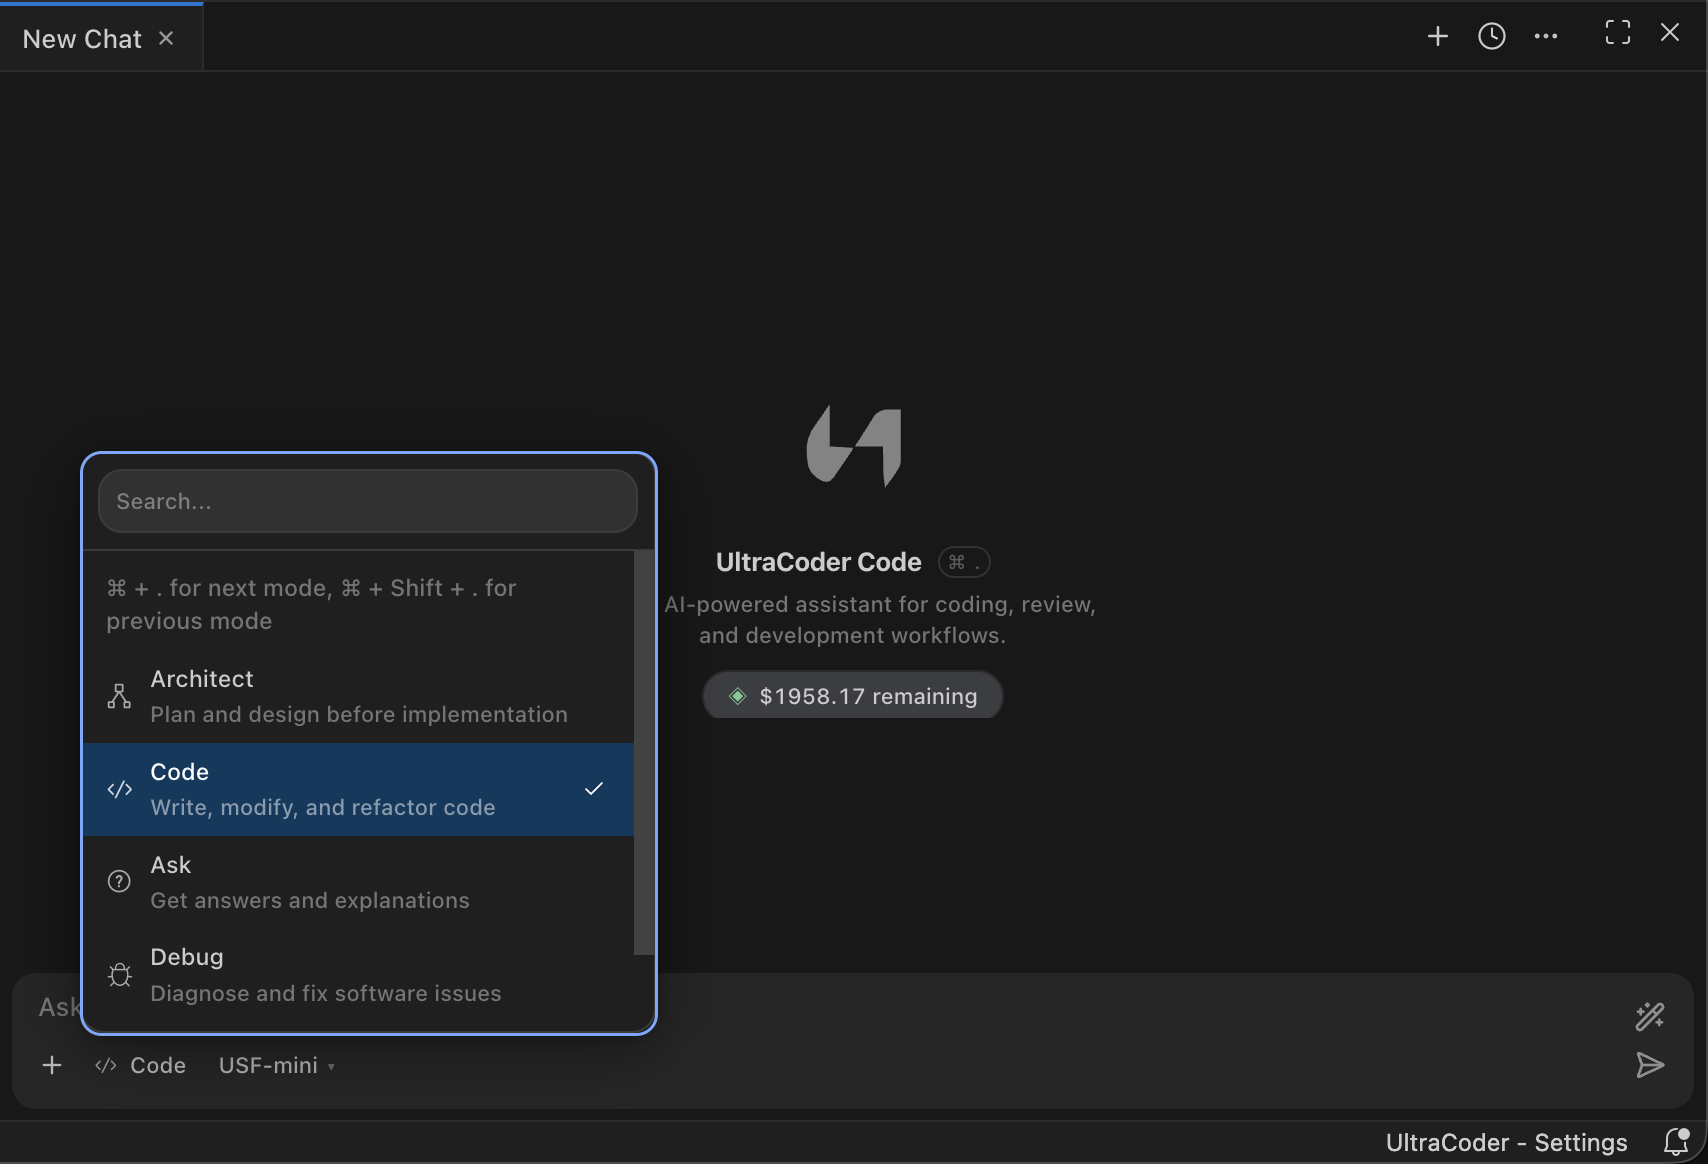
Pick a mode
The default mode is Code. Use the mode selector at the top of the chat panel, or type/architect,/ask,/debugto switch modes inline.
Learn about all 5 modes → - 4
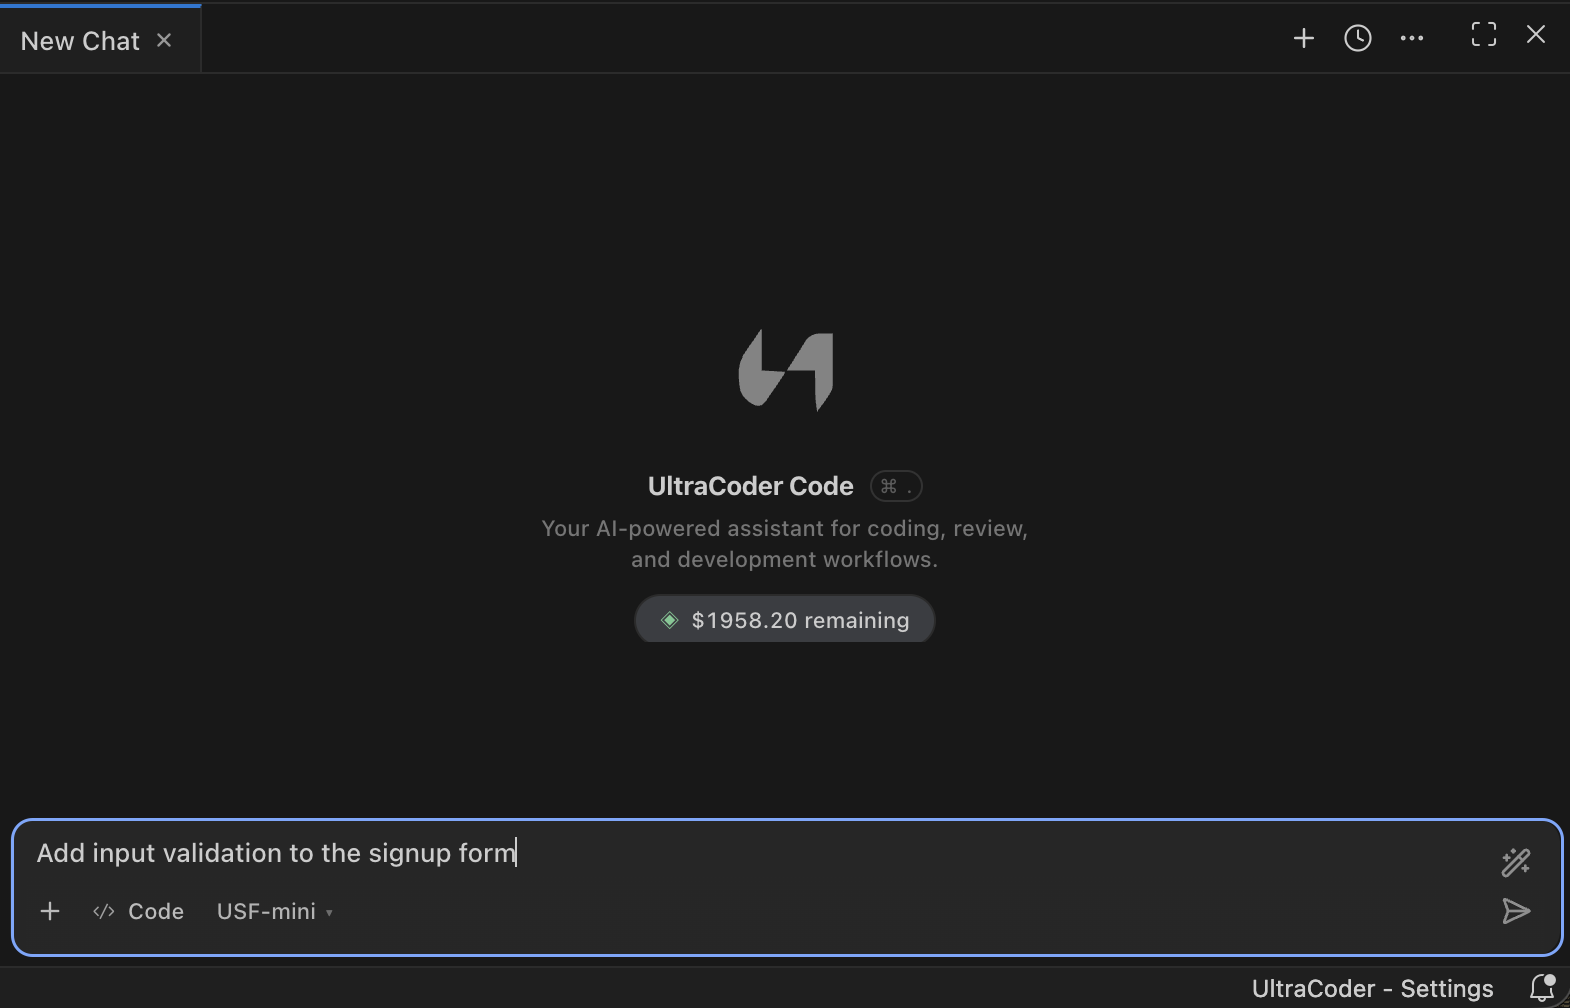
Type a task and send
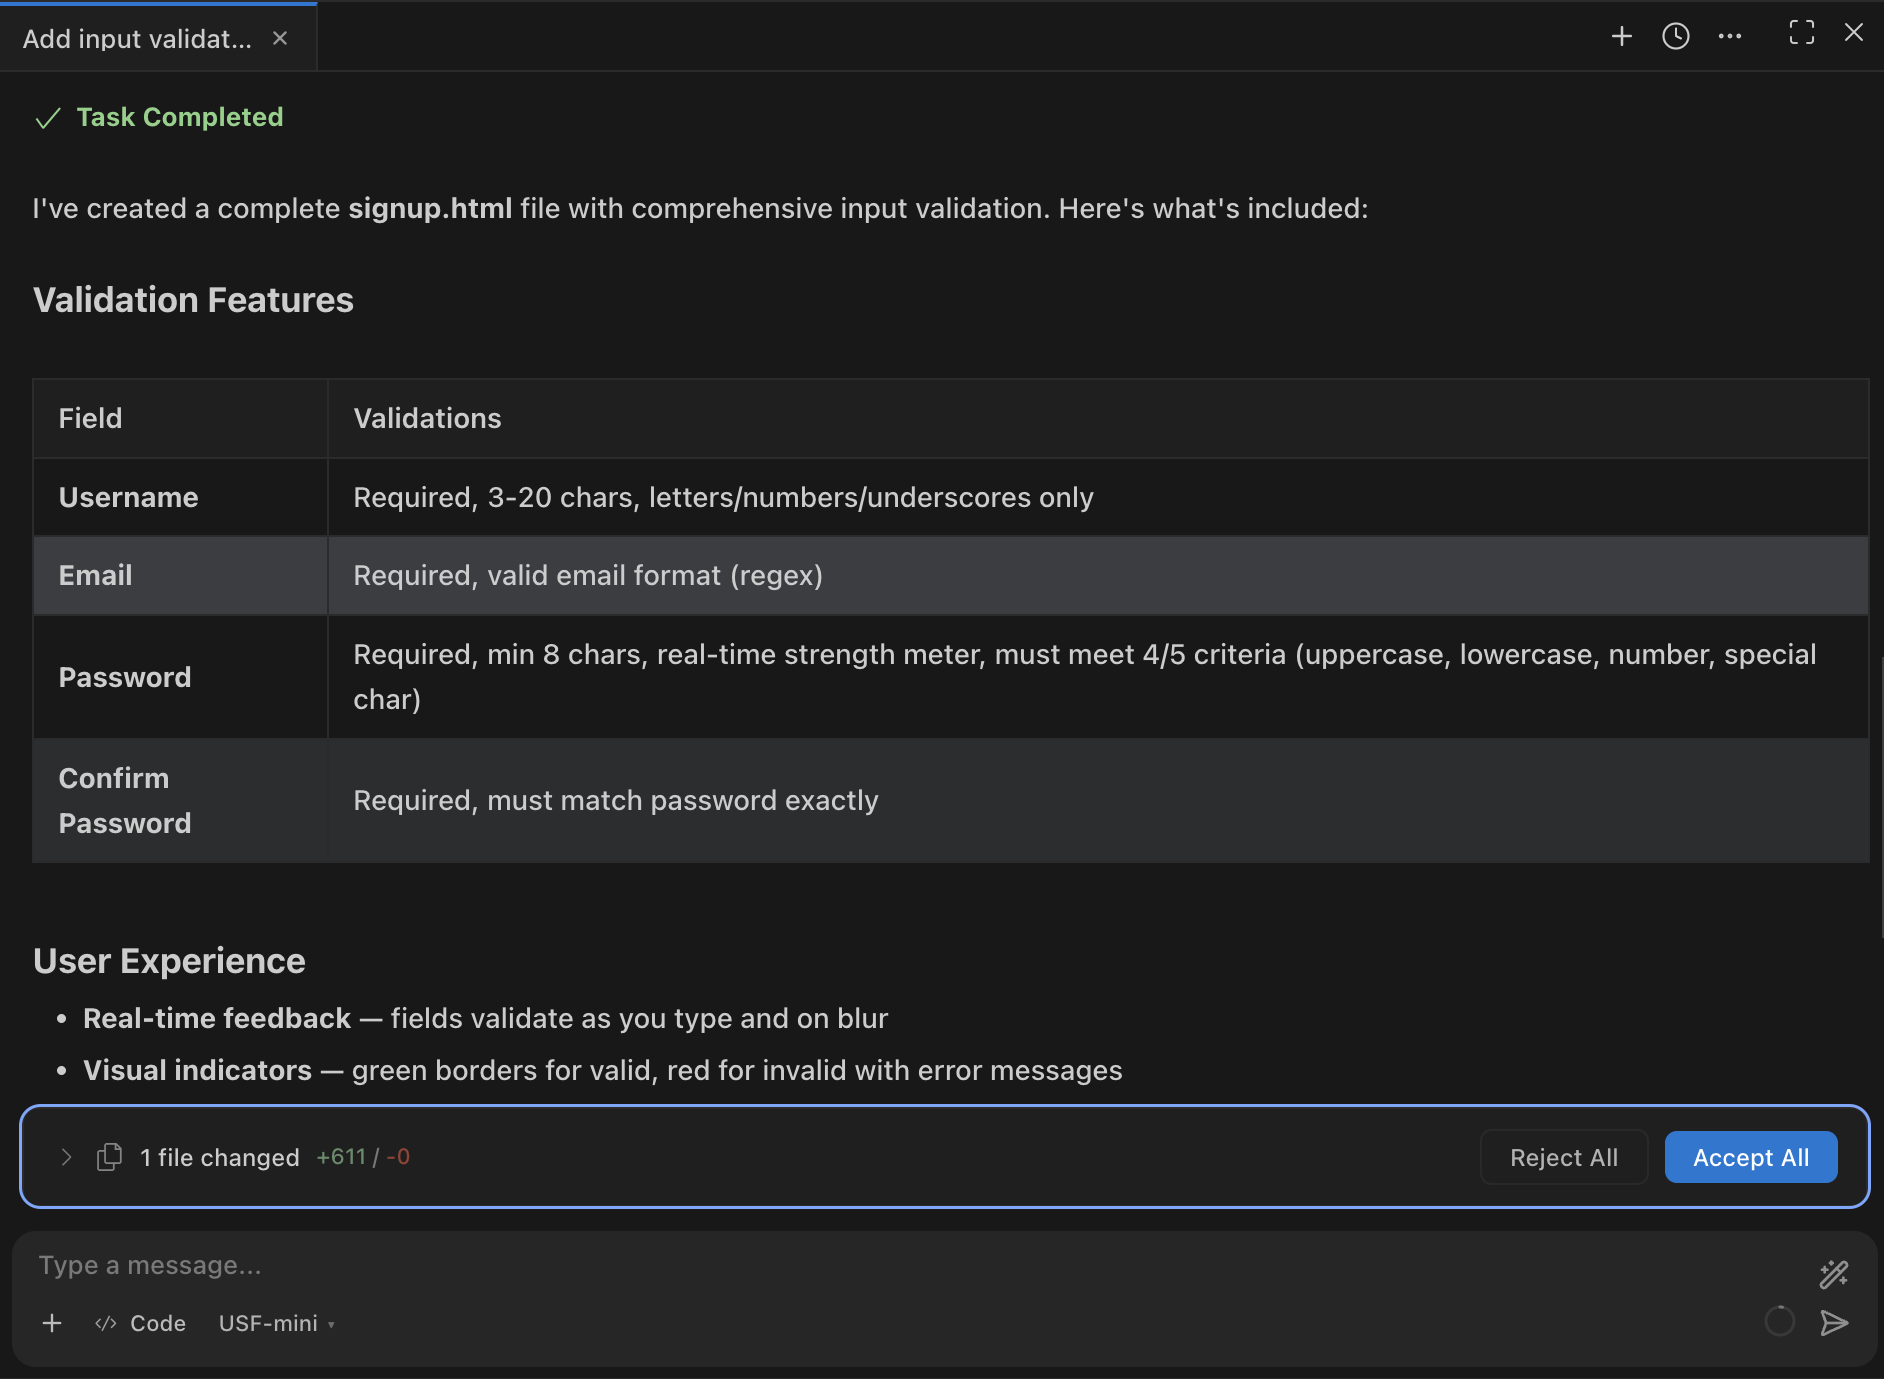
Describe what you want in plain English. Examples:- “Add input validation to the signup form”
- “Explain how authentication works in this codebase”
- “Fix the TypeScript error in api.ts”
- 5
Review and approve changes
UltraCoder proposes file edits and terminal commands. Each action requires your approval before it runs. Click Approve or Reject for each step, or enable auto-approval in Settings if you prefer.
✦ Tip:Mention specific files with the
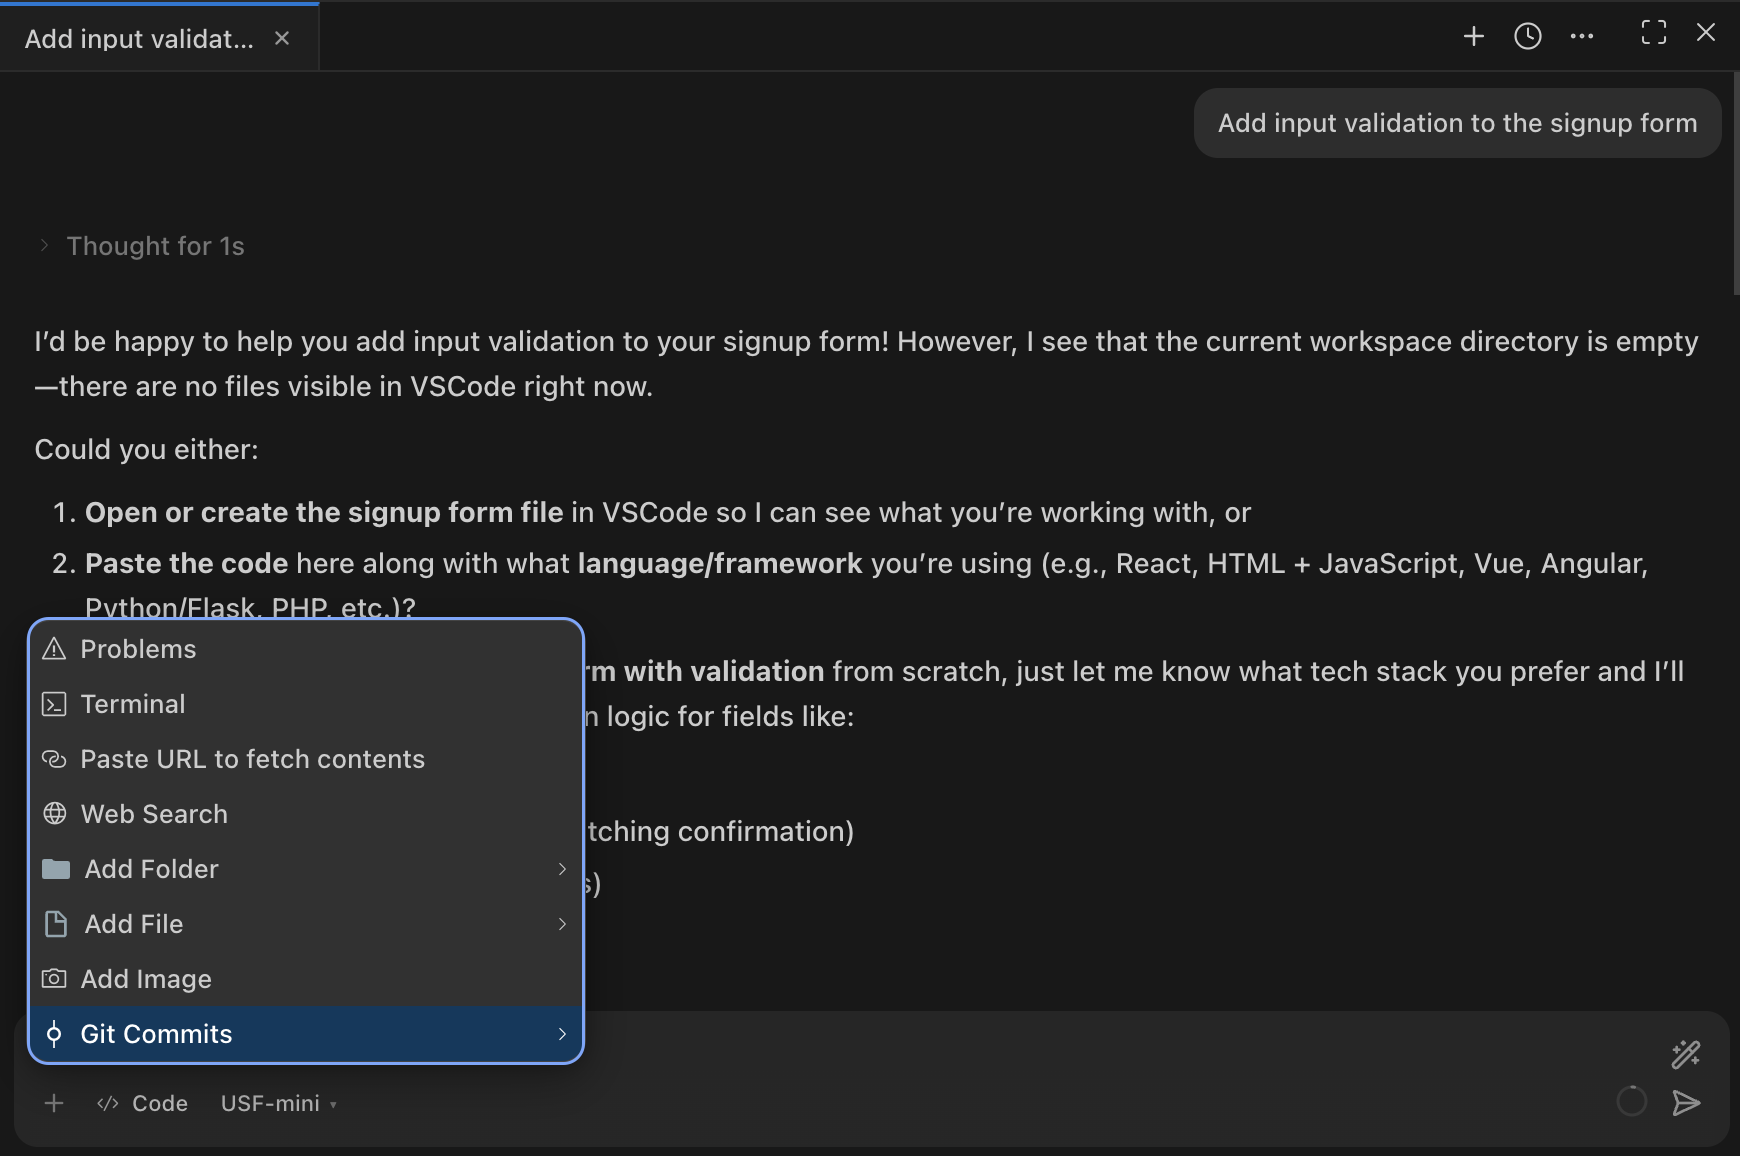
@ symbol — e.g. @src/api.ts fix the timeout handling. This gives UltraCoder precise context without it needing to search.Add context to any task
- Type
@to mention a file or folder - Paste or drag an image into the chat (screenshots, diagrams, UI mockups)
- Right-click any code in the editor → Add to Context
- Right-click terminal output → Terminal: Add to Context
Explore further
- Modes — when to use Code, Architect, Ask, Debug, Orchestrator
- Ghost Suggestions — inline AI completions as you type
- Models & Providers — switch to Anthropic, OpenAI, or local models
- Keyboard Shortcuts — full shortcut reference